
During Installation
From this angle, you can see the wall bowing out in the middle.
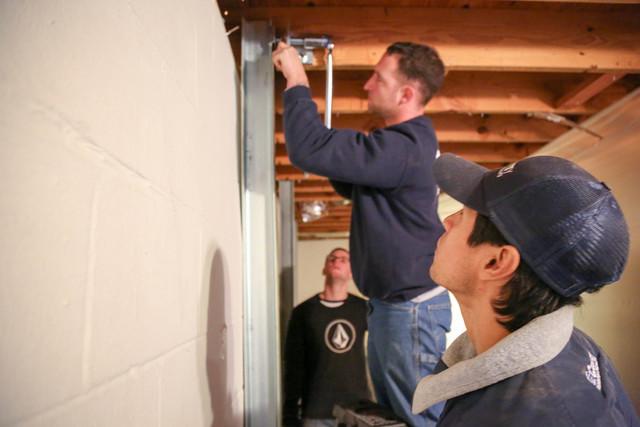
Israel Teaching Fellow Crew Member
Production Crew Foreman Israel Santana shows Production Crew Member Samson how to install power braces.

Leveling the PowerBrace
To make sure that the PowerBrace is completely installed and stabilized, the production crew members level the power brace.

Finished Installing Foundation Repair
The finished product had a total of 5 PowerBraces, which will support and stabilize the bowing wall.